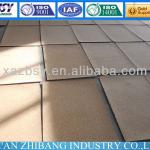
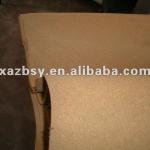
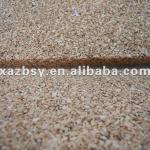
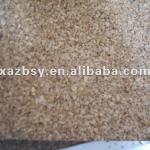
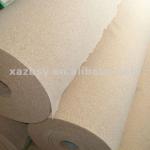
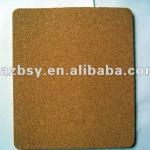
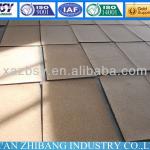
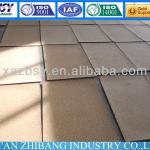
Cork Glue-Down Floor - PCGF-006
| Type: Cork Flooring | Place of Origin: Zhejiang China (Mainland) | Brand Name: XDCORK | Model Number: PCGF-006 |
| Surface Treatment: Paint handling | Item: Cork Glue-Down Floor | Material: cork granule | Size: 300X300X3.0mm-12mm,305X305X3.0mm-12mm |
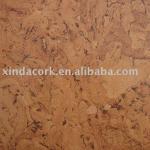
Cork Glue-Down Floor
Cork glue-down floor tiles are warm to stand on, comfortable and quiet to walk
over, but not suitable for areas where there will be heavy usage. They are made
from bark of the cork oak tree that is ground, compressed to increase their density
and heated. They are available as either natural or ready sealed by the manufacturer.
Cork glue-down floor tiles are available in various finishes and shapes - dependent
on price. If using natural tiles, the floor must be sealed with polyurethane
varnish once laid.
Once you have decided on the tile, note its length and width and measure the room carefully. Measure its length and divide it by the length of one tile. Round up the number of tiles to the next whole number. Now measure the width of the room and divide that by the width of the tile, round up the number of tiles to the nearest whole number. Multiply the two whole numbers together. This will give the number of tiles required to tile the room.
It is always wise to buy a few extra tiles in case of accidental damage in the future. They are easy to cut and are suitable for areas where complicated cuts have to be made.
Laying the tiles
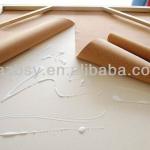
Use the adhesive recommended by the manufacturer, as some require flooring adhesive, contact adhesive or self-adhesive techniques. Follow the instructions carefully and take care to lay the first tile correctly, as its position will determine the position of all the other tiles in the room.
Use a batten nailed to the floor to give a straight edge to guide the positioning of the tiles. Use a spirit level to check the horizontal level and a straight edge to continually check the position of the tiles on the floor. Continue across the room and work towards the door. Then remove the battens and cut the border tiles and fix in a similar way. Use an adjustable shape-tracing template to help with fitting around difficult shapes.
Cleaning and caring for cork tiles
Sealed
Use a non-slip wax polish and buff clean.
Not sealed
They should be swept, can be vacuumed or cleaned with a damp mop using a liquid floor cleaner occasionally. Ideally they should be sealed with at least two coats of polyurethane varnish when used for flooring. Repairing cork tile flooring.
The flooring can get damaged, badly stained or burnt. Use a coarse grade sand paper wrapped round a block to rub down the damaged area. Once the damage has been removed, use a fine grade sand paper to smooth the area. Once the area has been cleared of dust, re-seal with a floor sealer.
Removing cork tiles
Most cork tiled surfaces are used for flooring. Cover furniture and fittings before starting. Look for a loose tile, or a tile in a central position. Lever the tile carefully using a scraper. This should now give access to the surface under the tiling.
Gently push the scraper under each tile and remove one by one. The tiles will probably break as they are removed, but it is still advisable to work on the removal of individual tiles across the room. Once removed, the surface will still be covered with the cork tile adhesive. This is more difficult to remove.
It is advisable to use a hot air stripper and scraper to remove the adhesive.
| ITEM | SIZE | THICKNESS |
| PCF8801 | 600X600/600X300/300X300 | 4.0mm |
| PCF8802 | 600X600/600X300/300X300 | 5.0mm |
| PCF8803 | 600X600/600X300/300X300 | 6.0mm |
| Packaging Detail:carton |
| Delivery Detail:10 days |


